Effect blocks
How to create volume, EQ and effect curves anywhere in your mix
Understanding effect blocks
Effect blocks let you apply fades and effects to songs on your timeline.
When you add a song to the mix, two effect blocks are automatically created: an intro effect block with a volume fade-in curve, and an outro effect block with a volume fade-out curve.
Moving and adjusting effect blocks
Effect blocks can be positioned anywhere on the timeline and have any length. To move an effect block, click on the box and drag it to the new location.
To change the start or end, drag one of its edges and resize.
Effects only apply within the effect block's range — songs play unaffected outside of it.
Adding and removing effect blocks
To add a new effect block anywhere in the mix, click on the timeline at the position and lane where you want to create it. You should see a faded yellow border under the position marker. Then, hover your mouse over it and click on the "+ curve" icon.
To remove an effect block, right-click on it and select remove, or click to select it and press Backspace.
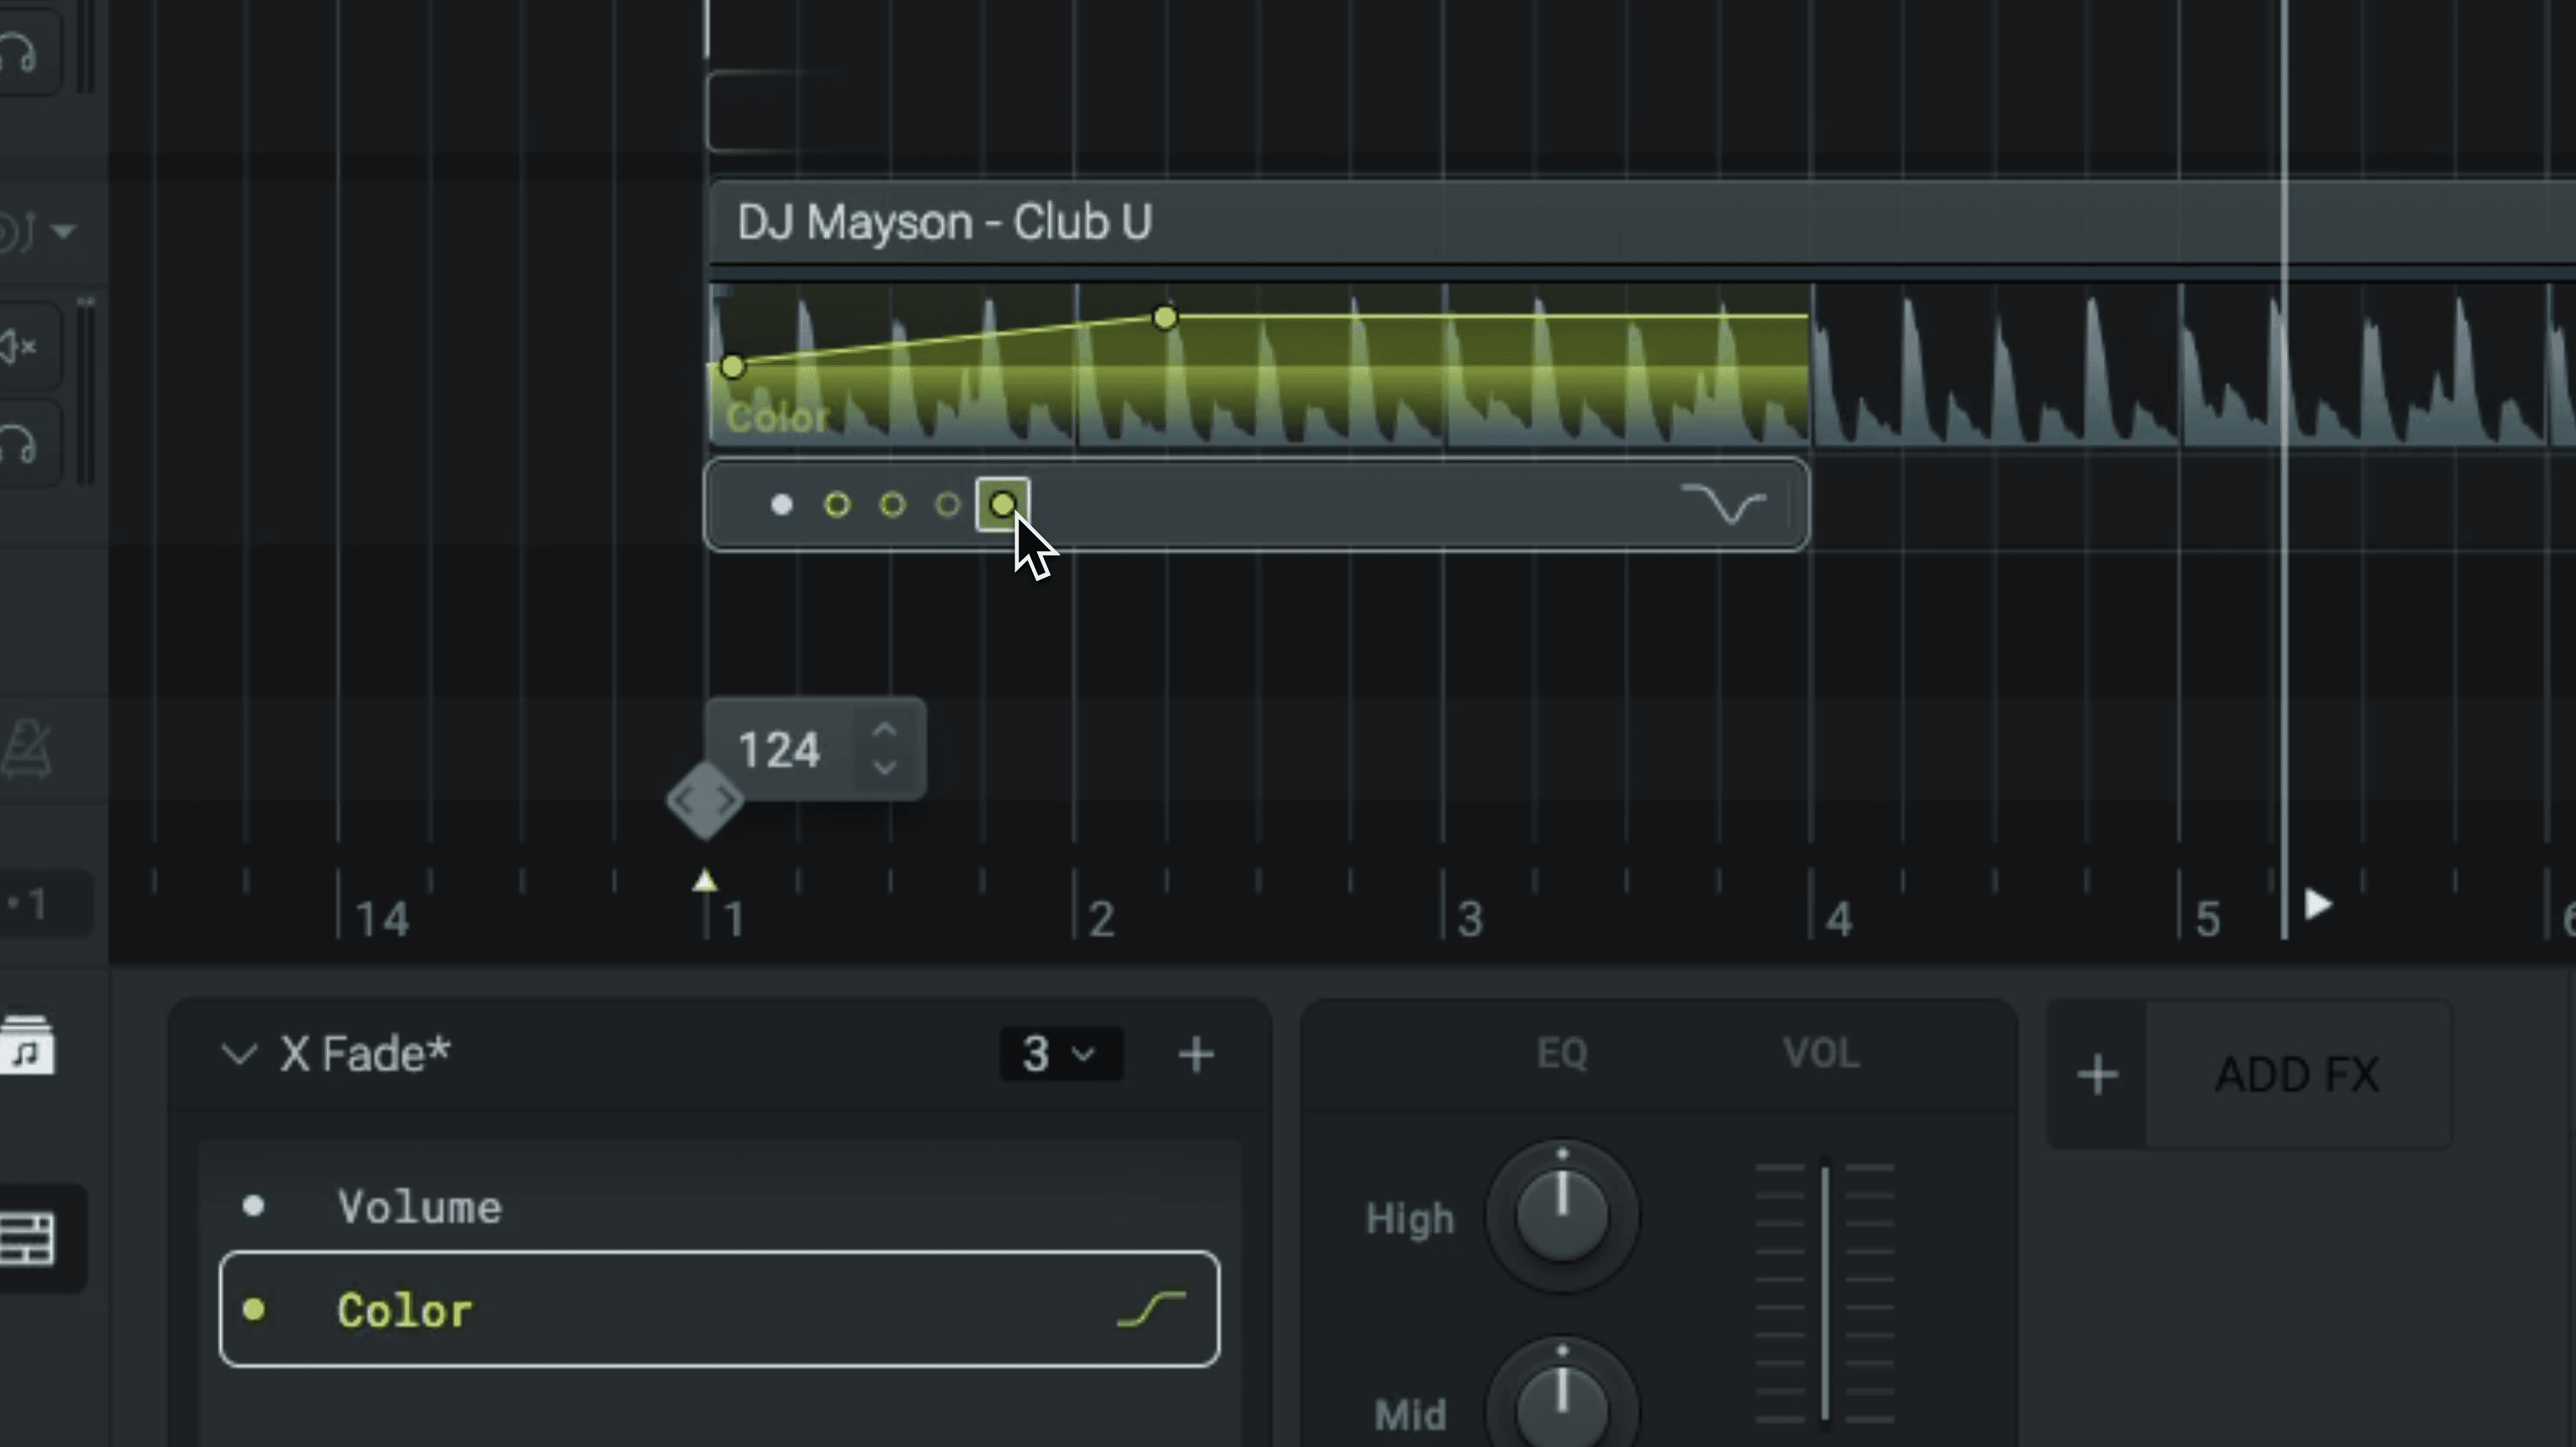
Creating and editing curves
Every effect block lets you create curves for Volume, EQ (low, mid, high), and Color Filter.
To start editing a parameter, click on the dot to select it. Then, hover your mouse over the curve line until a dot appears and click to add a new point. Click and drag the point to adjust its position.
When dragged, points snap to the beat grid and to other point values. To deactivate snapping, hold CMD/Ctrl while dragging.
Removing curves and curve points
To remove a curve point, hover your mouse over it until you see the value label and click. To remove an entire curve, first select it then press Backspace or Delete. You can also select and delete a curve from the bottom panel.
Effect block presets
To avoid creating the same curves over and over again, you can save effect block presets. Presets preserve the length and curves of all parameters.
Open the presets menu from the effect block bottom panel and click + to create a new preset. Then select and apply the custom preset to any effect block.